mise manages your development tools, environment variables, and project tasks.
Declare them in mise.toml, commit the file, and use the same setup in your shell,
your editor, and CI.
Tools: install Node.js, Python, Go, and hundreds more, with different versions for each project.
Environments: set project environment variables and load .env files.
Tasks: run build, test, and other commands with the tools and environment they need.
Bootstrap: declare machine setup, including system packages, dotfiles, and services.
Use the parts you need. Start with one tool or task and add more to the same config.
On Windows, install with winget install jdx.mise. See the
installation guide for package managers
and other installation methods.
The examples below use mise. If it isn't on your PATH yet, use
~/.local/bin/mise instead on macOS or Linux.
2. Try a tool
mise exec node@24 -- node --version
This installs Node.js if needed and runs it for this command, without changing
your project configuration. No shell activation is required.
For an existing project that already has a reviewed mise.toml, run mise install
from its directory and mise tasks ls to discover its tasks.
3. Give a project its own environment
In a project directory, create mise.toml:
[tools]node = "24"[env]NODE_ENV = "development"[tasks.hello]description = "Print the project's Node.js version and environment"run = '''node -e "console.log(process.version, process.env.NODE_ENV)"'''
Run the task:
mise run hello
mise installs the configured tool if needed, loads NODE_ENV, and runs the task.
The output includes the Node.js version and development. Commit mise.toml so
teammates and CI can run the same command.
To add tools later, run mise use python@3.14 from the project directory.
Use mise use --global to set personal defaults. Version requests such as "24"
select a release in that series; use exact pins or a lockfile
when you need everyone to use the same resolved version.
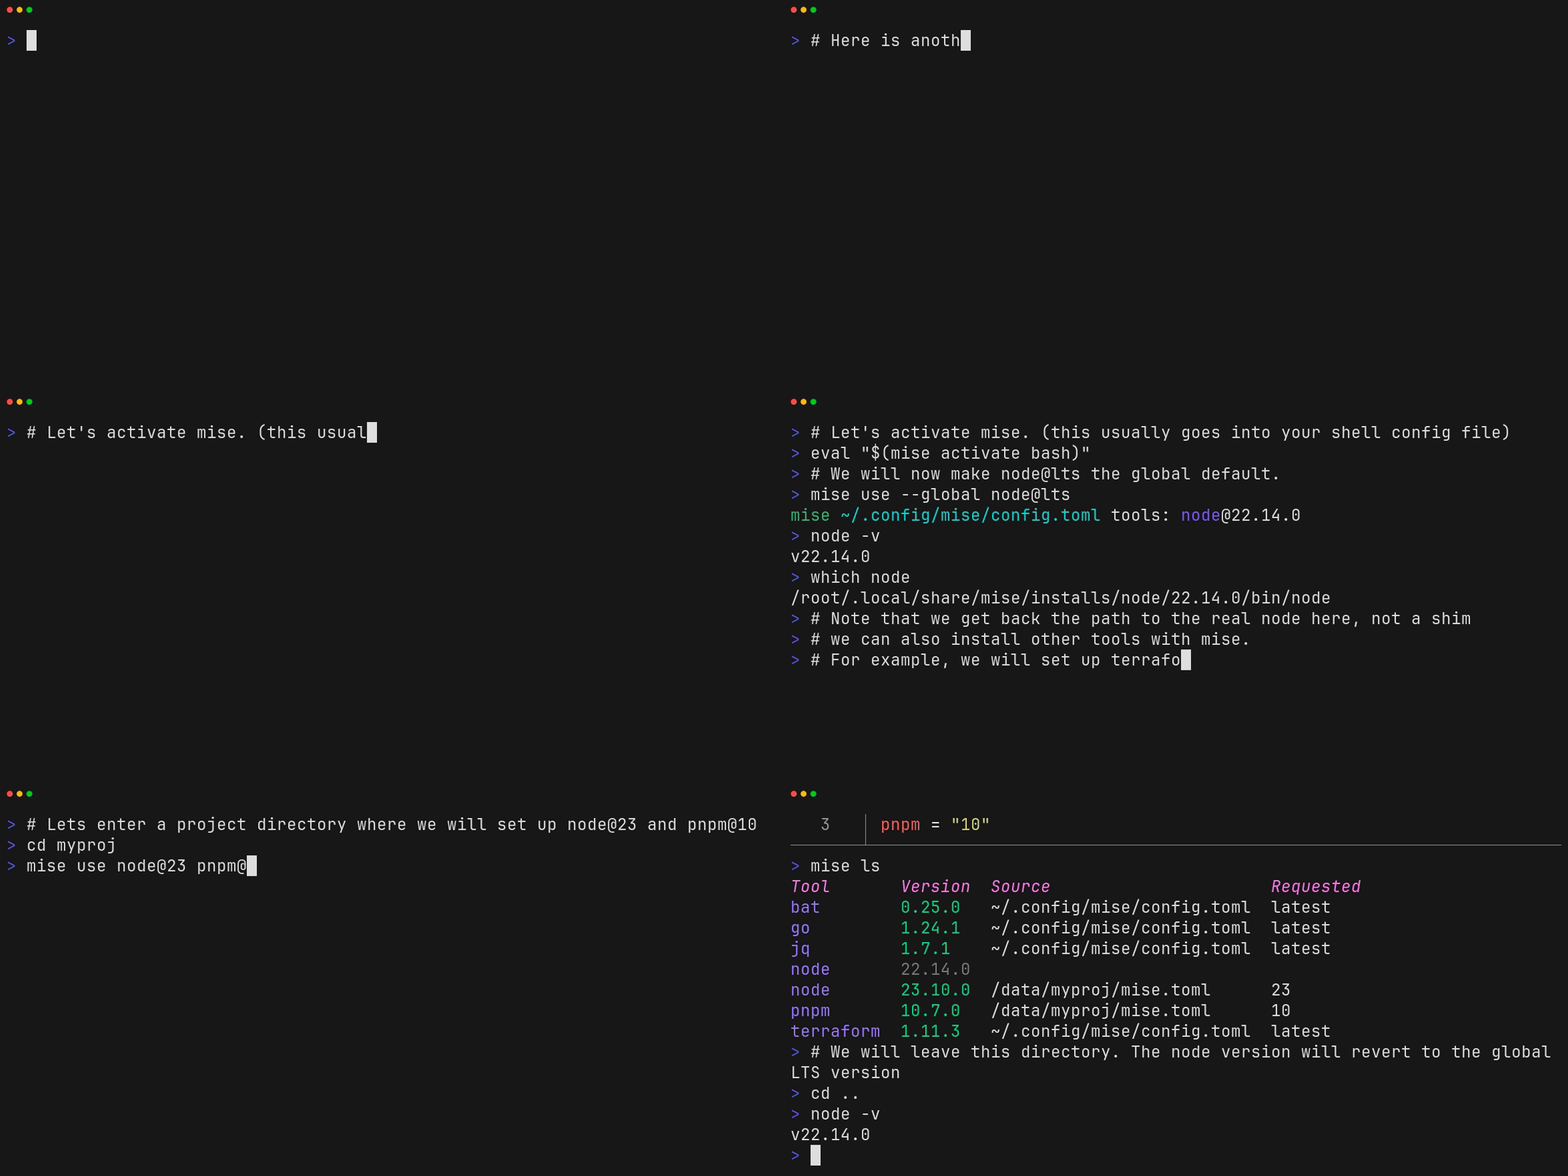
4. Activate your shell (optional)
Activation makes project tools and environment variables available directly when
you enter a directory. For an installation from mise.run, add one of these
lines to the corresponding shell config:
# ~/.config/fish/config.fish~/.local/bin/mise activate fish | source
Restart your shell, then run node --version inside the project. For PowerShell
and other installation methods, follow the
shell setup guide.
Check your project setup
mise config lsmise ls --currentmise exec -- node --version
These show which configuration files are loaded, which versions are selected,
and whether the tool runs in the project environment. If mise exec works but
node --version does not, check shell activation with mise doctor.