
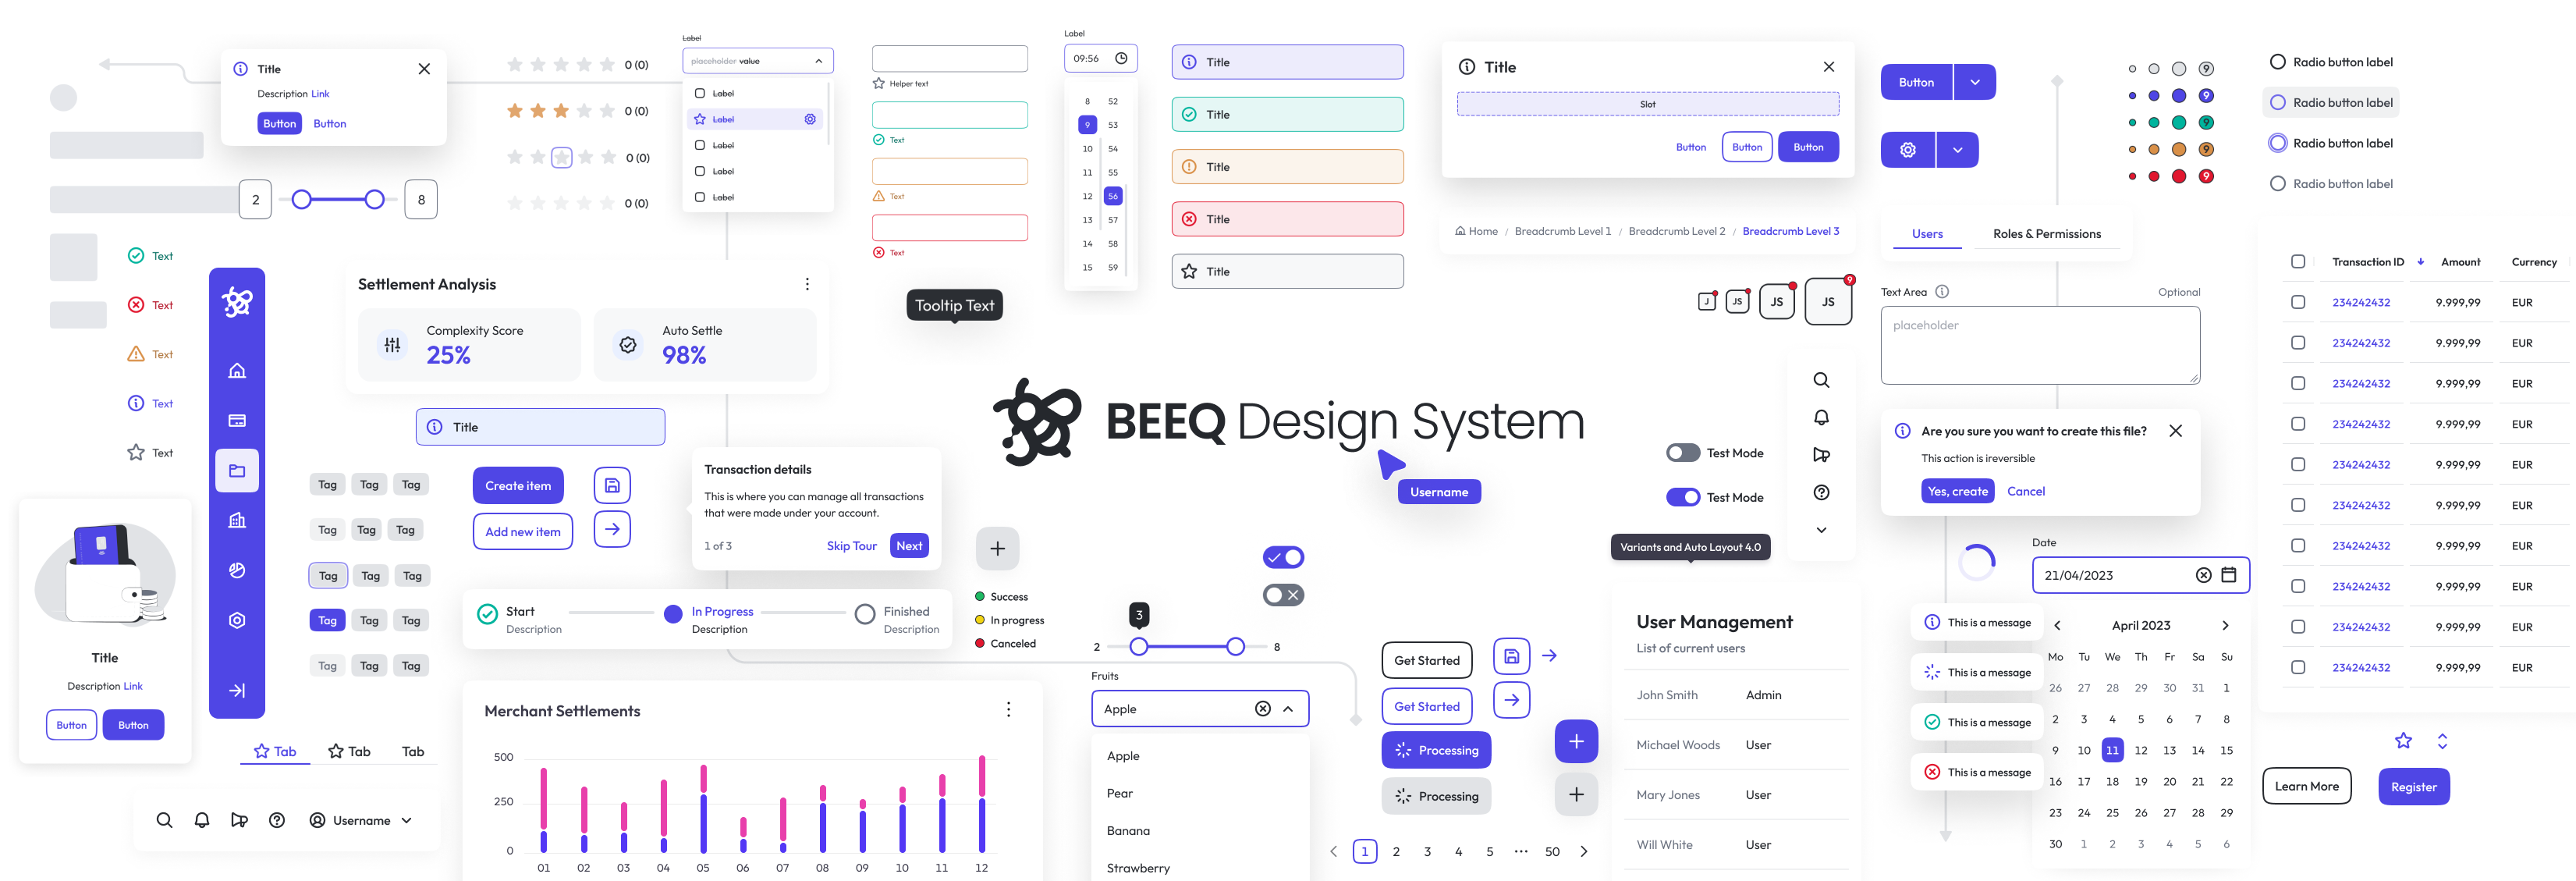
BEEQ, a web component library initiative
This repository holds the source code of the web components present in the BEEQ Design System.

| Package | Version | Documentation |
|---|---|---|
@beeq/core |
 |
README |
@beeq/angular |
 |
README |
@beeq/react |
 |
README |
@beeq/vue |
 |
README |
@beeq/tailwindcss |
 |
README |
Documentation 📚
Explore BEEQ, learn the fundamentals, and discover more advanced topics at the documentation site
Storybook 📕
Feel free to check our Storybook to see all the BEEQ components released. There you can find all the component's APIs (properties, events, and methods exposed) along with the variations that each component allows.
Submit an issue
Report a bug or request a new feature by opening a new issue
Usage
The BEEQ components are published to the NPM package manager registry. You can use the @beeq/core or any of the framework-specific wrappers (@beeq/angular, @beeq/react, @beeq/vue) depending on the technology stack of your project. Make sure the follow the usage instructions for each package:
- 📘 How to use the
@beeq/corepackage - 📗 How to use the
@beeq/angularpackage - 📕 How to use the
@beeq/reactpackage - 📙 How to use the
@beeq/vuepackage - 📓 How to use the
@beeq/tailwindcsspreset
AI agent skill 🤖
The beeq agent skill teaches coding agents (GitHub Copilot, Claude Code, Cursor, and others) to choose, verify, style, and review BEEQ components. Install it into your project with the skills CLI:
npx skills add Endava/BEEQ --skill beeq
See AI tools for pinning the skill to a release, the MCP server, and llms.txt.
Development 👨💻
Structure 🧩
The project has been structured as an NX monorepo :
├── 📁 packages
  ├── 📁 beeq
  ├── 📁 beeq-angular
  ├── 📁 beeq-react
  ├── 📁 beeq-vue
  ├── ...
  ├── 📁 beeq-skills
  ├── 📁 beeq-tailwindcss
  ├── ...
├── 📁 skills
├── 📁 tools
├── mise.toml
├── package.json
├── pnpm-lock.yaml
where:
- packages/beeq: Core library (source for all the elements/components implemented)
- packages/beeq-angular: Angular-specific wrapper for BEEQ core library
- packages/beeq-react: React.js-specific wrapper for BEEQ core library
- packages/beeq-vue: Vue.js-specific wrapper for BEEQ core library
- packages/beeq-tailwindcss: BEEQ's opinionated TailwindCSS configuration
- packages/beeq-skills: Source, tests, and evals for the BEEQ agent skills (not published to npm)
- skills: The installable
beeqskill, generated frompackages/beeq-skills
Dependencies 📡
We use mise to manage the Node and pnpm versions pinned in mise.toml. Keep the pnpm version in sync with the packageManager field in package.json.
You can either install mise globally or use the repository's workspace mise. Both options select Node and pnpm from the same mise.toml; a global mise installation is not required for the workspace option.
You can use another version manager, but use the pinned versions for consistent results. The minimum supported versions in package.json are:
CircleCI and Nx Cloud agents use the wrapper; GitHub Actions uses the pinned mise action. The agent setup is defined in .nx/workflows/agents.yaml.
Running the project 🏃
To develop/extend components on the BEEQ Design System, please fork this repo in GitHub and clone it locally to a new directory:
git clone https://github.com/<YOUR_GITHUB_USERNAME>/BEEQ.git BEEQ-Design-System
cd BEEQ-Design-System
git checkout main
Installation ⚙️
Choose one of the following options and run the setup commands from the repository root.
Option 1: Global mise
Install mise globally following its getting-started guide. If you already use mise, you can keep your existing installation; its version does not have to match the repository wrapper.
Activate mise in your interactive shell. For Zsh:
eval "$(mise activate zsh)"
For Bash:
eval "$(mise activate bash)"
Add the appropriate activation command to ~/.zshrc or ~/.bashrc to enable it in future terminals. Activation updates the tools on PATH as you change directories.
Then trust the repository configuration, install the pinned tools, and start the project:
mise trust
mise install
pnpm install --frozen-lockfile
# Make sure to build first the project before starting it
pnpm build
pnpm start
This option uses mise's normal user-level installation directories, not the repository's .mise/ directory.
Option 2: Workspace mise
Use the committed bin/mise wrapper without installing mise globally. It downloads the mise version pinned by the wrapper and installs Node, pnpm, and caches in the ignored .mise/ directory. You do not need mise, Node, or pnpm preinstalled.
The wrapper requires Bash (use WSL on Windows), curl or wget, CA certificates, tar, and sha256sum or shasum.
Install the workspace tools:
./bin/mise install
You can run each command through the wrapper without changing your shell environment:
./bin/mise exec -- pnpm install --frozen-lockfile
# Make sure to build first the project before starting it
./bin/mise exec -- pnpm build
./bin/mise exec -- pnpm start
Alternatively, load the workspace tools into your current shell to use plain pnpm commands. For Zsh:
eval "$(./bin/mise env --shell zsh)"
For Bash:
eval "$(./bin/mise env --shell bash)"
Then run:
pnpm install --frozen-lockfile
pnpm build
pnpm start
This loads the environment once; it does not enable directory-change hooks or shell aliases. Repeat it in each new shell. Continue using ./bin/mise for mise commands so they use the workspace installation rather than a global one.
Start coding 😃!
[!TIP] Since we used NX to handle our monorepo, you can leverage powerful commands like
nx affectedto run commands only on projects affected by your changes, ornx run-manyto run commands across multiple projects. For example:
# Run tests only on affected projects
nx affected:test

# Build all packages
nx run-many --target=build --all

# Run a specific target on multiple projects
nx run-many --target=lint --projects=beeq,beeq-react
We use these commands in our CI pipeline to optimize our build and test processes. Feel free to check out our CircleCI config to see how we implement them! Don't forget to check out the NX documentation for more tips on working with monorepos.
Build 📦
For a Production build, just run:
pnpm build
Test 🧪
BEEQ uses Vitest for unit tests and end-to-end tests.
You can run all the tests once, by executing:
pnpm test
or run unit tests and e2e tests separately:
pnpm test:spec
pnpm test:e2e
[!TIP] You can execute specific tests, whether they're spec tests or e2e tests, by supplying the file name as an argument (if you want to run tests in watch mode, just add the
--watchargument).
pnpm test:spec -- debounce --watch
pnpm test:e2e -- dialog --watch
Lint and formatting
BEEQ uses Biome for linting and code formatting.
# Check affected publishable projects
pnpm exec nx affected -t check --exclude='*,!tag:publishable' --parallel

# Check the core package
pnpm exec nx run beeq:check

# Autofix supported issues
pnpm exec nx run beeq:check -- --write
Agent skills
Edit a skill in packages/beeq-skills/src/, not the generated copy in skills/. The pre-commit hook regenerates them, and CI fails when they are stale.
pnpm skills:sync   # regenerate skills/
pnpm skills:test   # skill specs and type checks
The evals that measure the skill with real agents run locally only. See the beeq-skills README.
Generate component
BEEQ comes with a component generator that saves you time when creating the skeleton for a new component. To use the generator, you just need to run the following command and follow the instructions in your prompt CLI:
pnpm g
Contributing 💻
💥 If you are in the mood and want to help 🙂, please read carefully our Contributing Guidelines and Development Standards.
❗️ When working on a bug fix, new feature, etc., please notice that we follow a GitFlow workflow. Make sure to follow the instructions from the Contributing Branching Strategy guidelines about how to create your branch when starting to work on a bug/hot fixing, new feature, etc.
Documentation 📖
StencilJs
Need help? Check out the Stenciljs docs here (https://stenciljs.com/).
Tailwind CSS
We use Tailwind CSS for the style of the components, please take a look at their documentation here: (https://tailwindcss.com/docs/)
Thanks 🙏

We would like to express our sincere gratitude to Chromatic for providing the visual testing platform that enables us to review UI changes and identify visual regressions.
Thank you to the Nx team for helping us streamline our CI process and efficiently manage our Monorepo.