


![]()
![]()
Features
- [x] Present your own custom view easily as an in-app Notification
- [x] Create custom presentation styles
- [x] Update content during presentation
Example
To run the example project, clone the repo, and open UINotifications-Example.xcodeproj from the Example directory.
| Success styling | Failure styling |
|---|---|
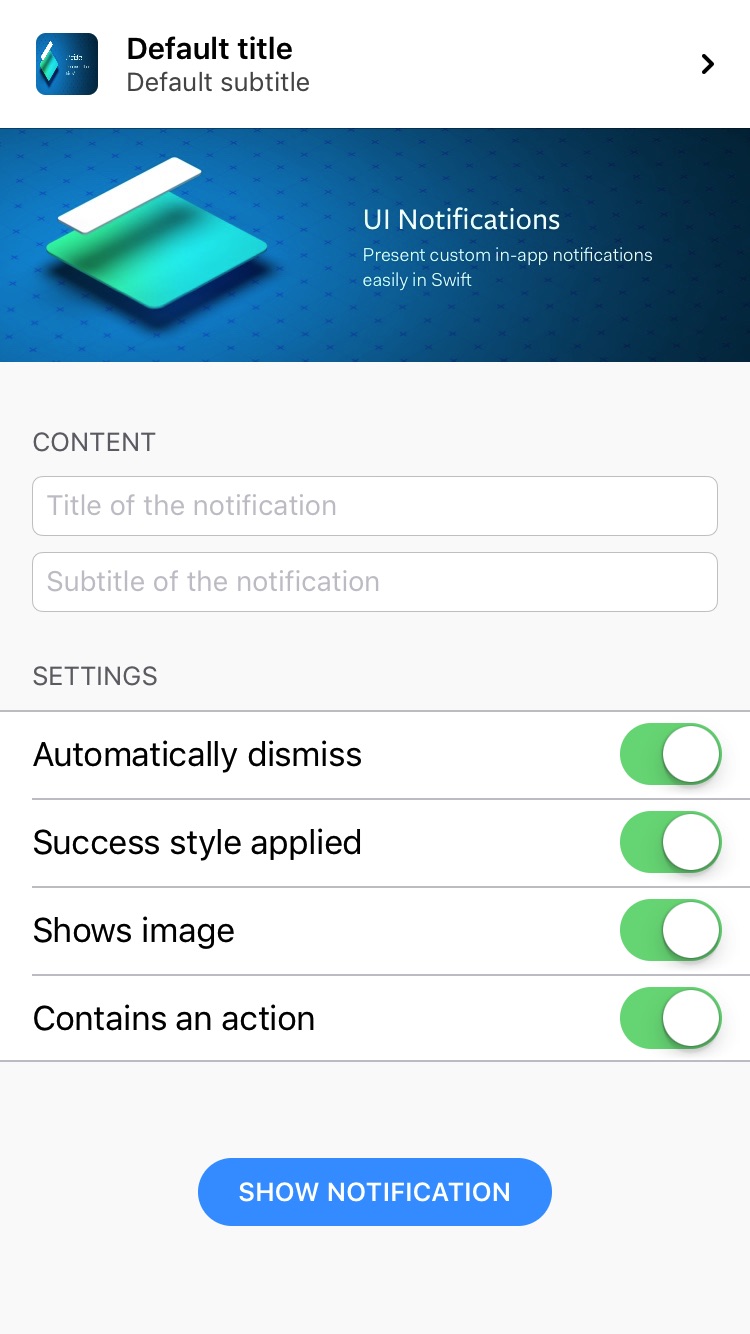 |
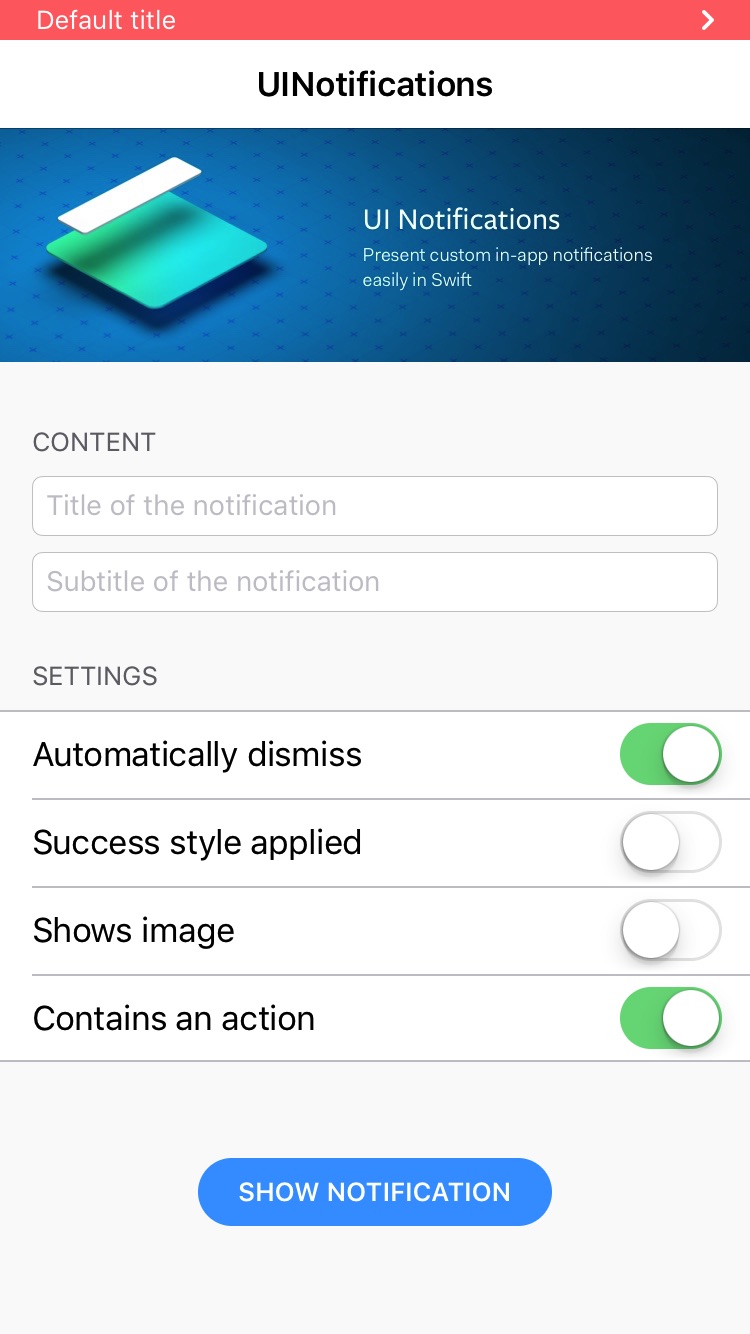 |
Usage
Making a Notification
import UINotifications

let content = UINotificationContent(title: "My Custom Text", subtitle: "My subtitle", image: UIImage(named: "MyImage"))
let notification = UINotification(content: content, action: UINotificationCallbackAction(callback: {
    print("Tapped the notification!")
}))

let dismissTrigger = UINotificationDurationDismissTrigger(duration: 2.0)
UINotificationCenter.current.show(notification: notification, dismissTrigger: dismissTrigger)
Create a custom style
import UINotifications

enum NotificationStyle: UINotificationStyle {
    case success
    case failure

    var titleFont: UIFont {
        switch self {
        case .success:
            return .systemFont(ofSize: 15, weight: .semibold)
        case .failure:
            return .systemFont(ofSize: 13, weight: .regular)
        }
    }

    var subtitleFont: UIFont {
        return .systemFont(ofSize: 13, weight: .regular)
    }

    var titleTextColor: UIColor {
        switch self {
        case .success:
            return .black
        case .failure:
            return .white
        }
    }

    var subtitleTextColor: UIColor {
        return .darkGray
    }

    var backgroundColor: UIColor {
        switch self {
        case .success:
            return #colorLiteral(red: 1, green: 1, blue: 1, alpha: 1)
        case .failure:
            return #colorLiteral(red: 1, green: 0.431372549, blue: 0.431372549, alpha: 1)
        }
    }

    /// The height of the notification which applies on the notification view.
    var height: UINotification.Height {
        switch self {
        case .success:
            return .navigationBar
        case .failure:
            return .statusBar
        }
    }

    /// Use this to set a max width to the notification view.
    var maxWidth: CGFloat? {
        return nil
    }

    /// When `true`, the notification is swipeable and tappable.
    var interactive: Bool {
        return true
    }

    var chevronImage: UIImage? {
        return #imageLiteral(resourceName: "iconToastChevron")
    }
}
And use it:
let notification = UINotification(content: myContent, style: CustomNotificationStyle.success)
Use a custom dismiss trigger
let manualDismissTrigger = UINotificationManualDismissTrigger()
UINotificationCenter.current.show(notification: notification, dismissTrigger: manualDismissTrigger)

/// Do other stuff..

manualDismissTrigger.trigger() // Dismiss
Create a custom UINotificationView
- Create a custom view and inherit from
UINotificationView - Set your custom view on the
UINotificationCenter:
UINotificationCenter.current.configuration = UINotificationCenterConfiguration(
    defaultNotificationViewType: MyCustomNotificationView.self
)
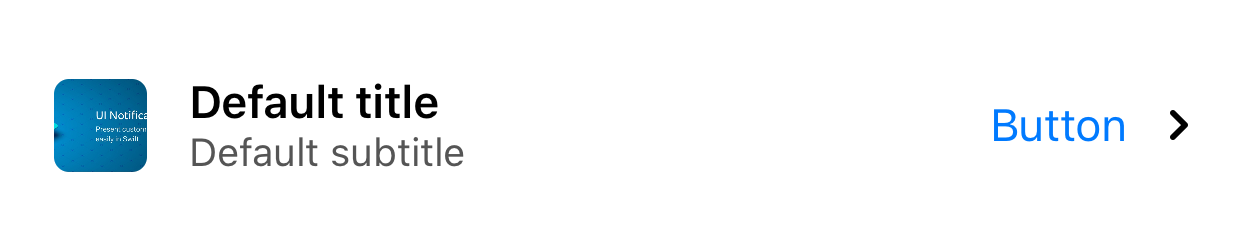
Use a custom UIButton
By setting the button property on UINotification, you can simply add a button to the notification.
notification.button = UIButton(type: .system)
Create a custom presenter
Create a custom presenter to manage presentation and dismiss animations.
- Create a custom class which inherits from
UINotificationPresenter. - Set your custom presenter on the
UINotificationCenter:
UINotificationCenter.current.configuration = UINotificationCenterConfiguration(
    presenterType: MyCustomPresenter.self
)
Checkout UINotificationEaseOutEaseInPresenter for an example.
Allow duplicate requests
By default, notifications which are already queued will not be queued again. This is to prevent an endless loop of notifications being presented if they occur quickly after each other.
To disable this setting:
UINotificationCenter.current.configuration = UINotificationCenterConfiguration(
    isDuplicateQueueingAllowed: true
)
Communication
- If you found a bug, open an issue.
- If you have a feature request, open an issue.
- If you want to contribute, submit a pull request.
Installation
Swift Package Manager
The Swift Package Manager is a tool for managing the distribution of Swift code. It’s integrated with the Swift build system to automate the process of downloading, compiling, and linking dependencies.
Manifest File
Add UINotifications as a package to your Package.swift file and then specify it as a dependency of the Target in which you wish to use it.
import PackageDescription

let package = Package(
    name: "MyProject",
    platforms: [
       .macOS(.v10_15)
    ],
    dependencies: [
        .package(url: "https://github.com/WeTransfer/UINotifications.git", .upToNextMajor(from: "1.3.0"))
    ],
    targets: [
        .target(
            name: "MyProject",
            dependencies: ["UINotifications"]),
        .testTarget(
            name: "MyProjectTests",
            dependencies: ["MyProject"]),
    ]
)
Xcode
To add UINotifications as a dependency to your Xcode project, select File > Swift Packages > Add Package Dependency and enter the repository URL.
Carthage
Carthage is a decentralized dependency manager that builds your dependencies and provides you with binary frameworks.
You can install Carthage with Homebrew using the following command:
$ brew update
$ brew install carthage
To integrate UINotifications into your Xcode project using Carthage, specify it in your Cartfile:
github "WeTransfer/UINotifications" ~> 1.00
Run carthage update to build the framework and drag the built UINotifications.framework into your Xcode project.
Manually
If you prefer not to use any of the aforementioned dependency managers, you can integrate UINotifications into your project manually.
Embedded Framework
-
Open up Terminal,
cdinto your top-level project directory, and run the following command "if" your project is not initialized as a git repository:$ git init -
Add UINotifications as a git submodule by running the following command:
$ git submodule add https://github.com/WeTransfer/UINotifications.git -
Open the new
UINotificationsfolder, and drag theUINotifications.xcodeprojinto the Project Navigator of your application's Xcode project.It should appear nested underneath your application's blue project icon. Whether it is above or below all the other Xcode groups does not matter.
-
Select the
UINotifications.xcodeprojin the Project Navigator and verify the deployment target matches that of your application target. -
Next, select your application project in the Project Navigator (blue project icon) to navigate to the target configuration window and select the application target under the "Targets" heading in the sidebar.
-
In the tab bar at the top of that window, open the "General" panel.
-
Click on the
+button under the "Embedded Binaries" section. -
Select
UINotifications.framework. -
And that's it!
The
UINotifications.frameworkis automagically added as a target dependency, linked framework and embedded framework in a copy files build phase which is all you need to build on the simulator and a device.
Release Notes
See CHANGELOG.md for a list of changes.
License
UINotifications is available under the MIT license. See the LICENSE file for more info.